This document gives you an insight into different configurations that are available for Employee Surrender workflow.
Navigation – Go to Settings -> Configurations -> Surrender Window Configurations
Surrender Window Configuration
This setting allows you to permit Option Holders to surrender their options. The changes you make in these settings will impact on your employees’ ability to surrender their option awards visible in the employee login.

1. Click Open in the Configure surrender window field if you want to enable this option for employees to surrender their options to the employer.
2. If you want the options to be available indefinitely, click Open permanently.
3. If you want the window to be open for a set period only, click Open for specific duration.
Select the dates in the Enable from and Enable until fields to define the relevant open window
4. Click Save to proceed to the next step.
Applicable Grantees
Next, you will be required to specify the eligibility criteria for your employee plan participants.
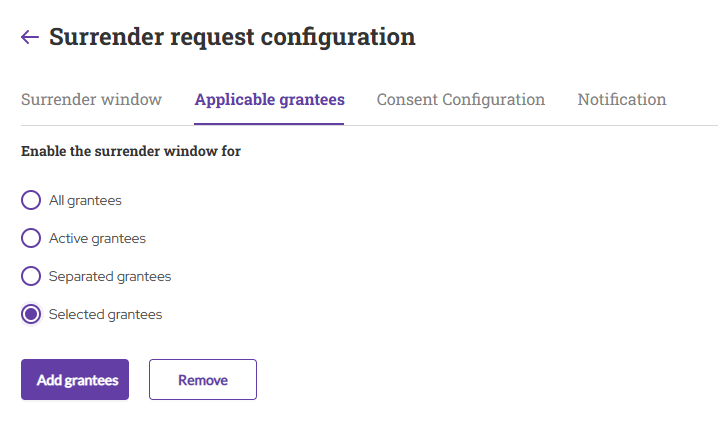
QapMap allows you the following options.
5. If you want to enable the surrender window for all grantees, click All grantees.
6. If you want to enable the surrender window for only active grantees, click Active grantees.
7. If you want to enable the surrender window for grantees who have separated from the organization, click Separated grantees.
8. If you want to enable the surrender window for specific grantees only, click Selected grantees and Add Grantees.
9. In the displayed list of grantees, select the appropriate eligible grantees and click Add.
10. Click Save to proceed to the next step.
Consent Configuration
You can now configure Surrender Form (Consent Form) along with Disclaimer message that will be displayed for your employees on the surrender screen.
11. The default setting for enabling surrender form is Set to NO.
12. Click on YES to enable the surrender form and select the surrender form displayed under Surrender Form Template.
13. Click on Save to update the configuration.

14. If no surrender form template is created (templates module), the system will display the Default Template for you to select and configure (refer to the above screenshot).
15. To Add a new surrender form template, you can click on “+Add New Surrender Form” (refer to the above screenshot).
16. Select Default to display the standard message.
The default message is: “Disclaimer: On submitting the surrender request, I agree that I am bound by my terms and conditions of the ESOP plan. I have read and understood clauses relating to the ESOP Plan document and shall abide by them. I authorise to deduct applicable tax on surrender of the above options from my salary.”
17. If you want to define a custom message instead, select Custom Message, type the desired message, and click Save to proceed to the final step.

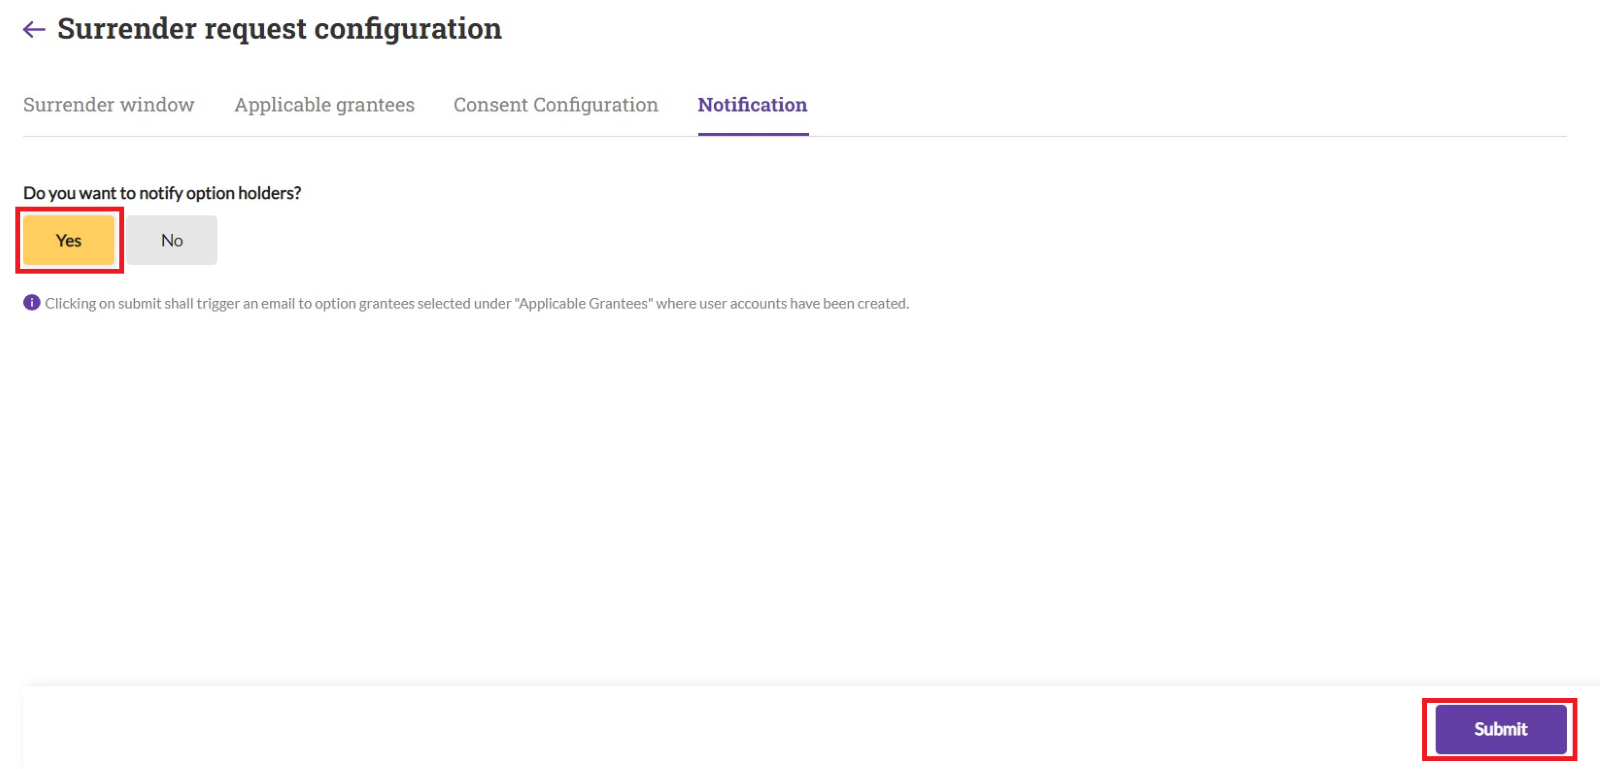
Notification
The final step in the surrender window configuration is to specify whether you wish for your eligible employee to be notified via email. By selecting “Yes” and hitting “Submit” to finalize the setup, emails will be triggered to option grantees selected under "Applicable Grantees" where user accounts have been created.